How to upload a locally hosted world to your Project Zomboid server
If you’ve been hosting a world for your friends to play on on your computer
through the Host button in game and you want to migrate it to AleForge, this
guide will show you everything you need to know to have a perfect migration.
Locating Your Local World File
By default, Project Zomboid saves world files to this directory
C:\Users\<username>\Zomboid
We’ll start by getting to this directory and working from here.
- Open
Saves/Multiplayer - In this folder you’ll find a number of folders. Some will have hostnames or IP addresses for names
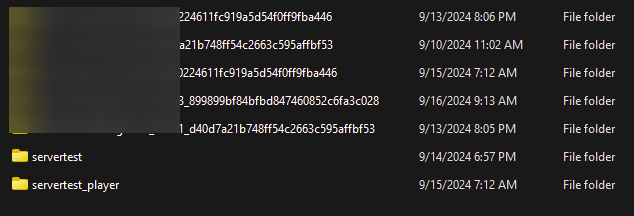
- Look for the name of your world. In our example, it is called
servertest
This is the file we will want to upload to your server. Ignore servertest_player as these files are not necessary to upload
Uploading your Local World File
- Open the AleForge Panel
- Stop your server
- Connect to your Project Zomboid server using SFTP
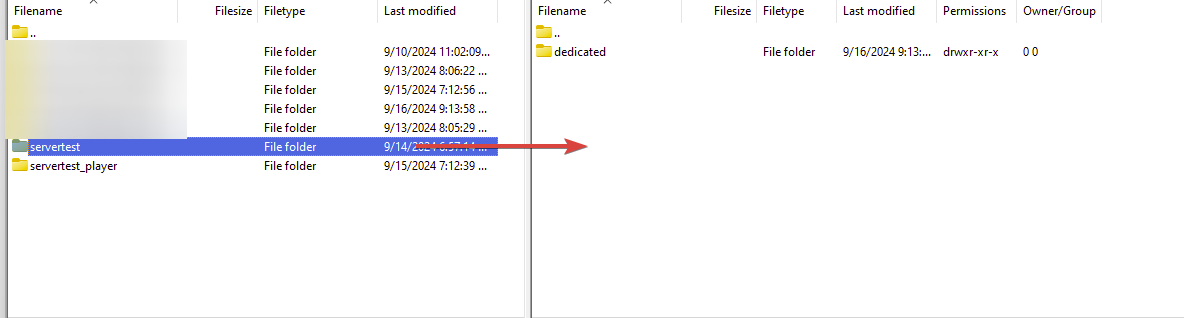
- In FileZilla, the left side of the interface shows files on your computer, while the right side shows files on the server. On the left side, navigate to
C:\Users\<username>\Zomboid\Saves\Multiplayer - On the right side of FileZilla’s interface, navigate to
/.cache/Saves/Multiplayer - Drag and drop your world file from the left panel to the right. This may take some time depending on the size of your world
- Once the file has finished uploading, go to
Startupon the AleForge Panel - Change
Internal Save Nameto match your uploaded world file name
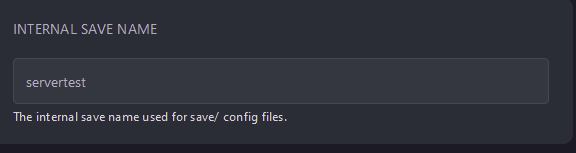
- Start your server and it will start up with your uploaded world