How to Install Mods on a tModloader Server
Below are AleForge’s instructions on how to easily install mods for tModloader 1.3 and 1.4. tModloader 1.4 comes with our easy mod installer script—no need to fiddle with an enabled.json.
If you want a fast, cheap, and reliable host, you can pick all three with AleForge’s Terraria plans, which start at $2.99. AleForge will migrate you from any host to our services at no cost to you.
tModloader 1.4 Instructions
To download and activate your mods please do the following:
- Launch tModloader and select Workshop
- Next click
Download Mods - Download all the mods you want to have installed on your server
- Click
Back - Select
Manage Mods - Enable every mod you want to be installed on your server
- Back out and go to
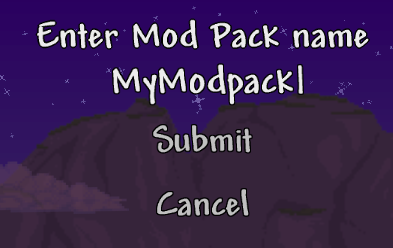
Mod Packs - Select
Save Enabled as New Mod Pack
Activating the Mods on Your Server
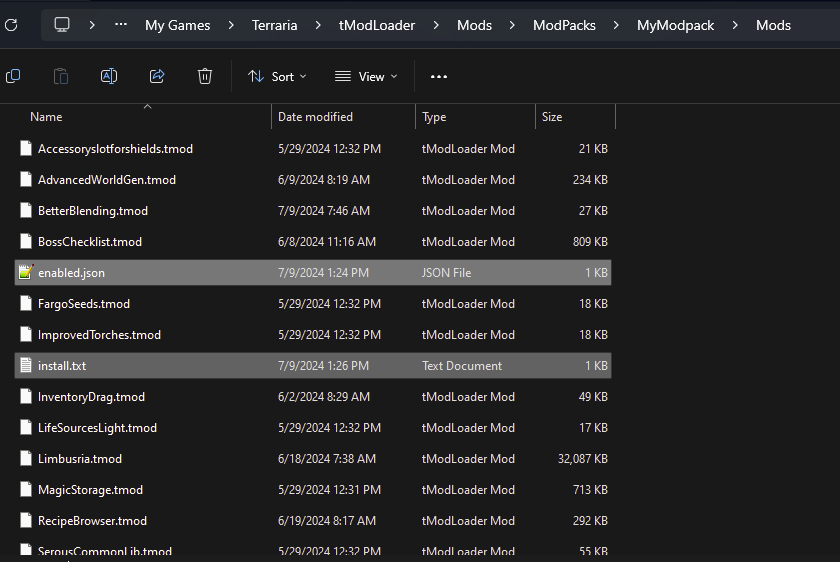
- On your computer, open your tModloader mods config folder. On Windows, the path will be similar to
C:\Users\UserName\Documents\My Games\Terraria\tModLoader\Mods\ModpackName\Mods - Next, go to the AleForge Panel
- Stop your server
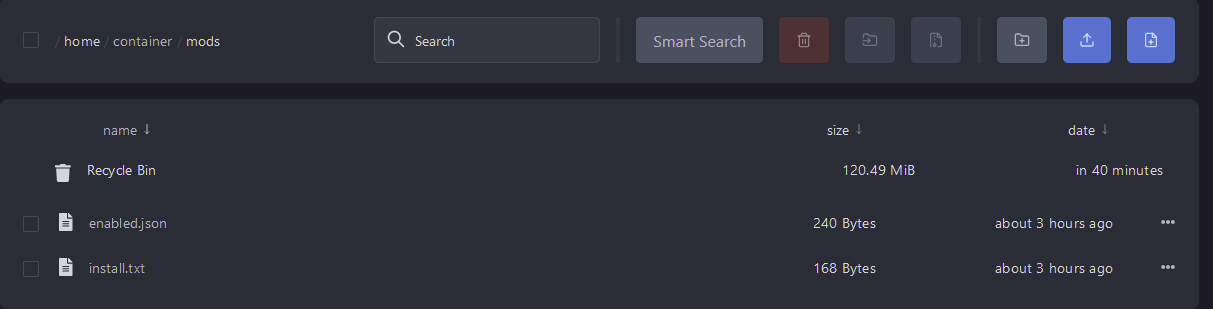
- Head to the File Browser
- Open the
Modsfolder - Click and drag the
enabled.jsonand theinstall.txtfiles to yourModsfolder on your server
- Go to
Settingsand clickReinstall Server
This is a soft reinstall and should not touch your world. However, if you are changing mods on an existing world it is recommended to create a backup before changing your mods.
tModloader 1.3 Instructions
Adding Mods to your Server
Mods can generally be found on the Terraria forums or using the in-game mod browser for tModloader. Once you’ve found a set of mods that you want to use, you’ll need to create the /mods folder on your server using our File Manager. Once the mods folder exists you can upload mods in the in .tmod format. To upload the mods you can click and drag them one by one or upload and unarchive a zip file. For bulk uploads, you can also use SFTP via a client such as WinSCP or Filezilla. You can find the mods on your computer at this path:
_C:\Users\UserName\Documents\My Games\Terraria\tModLoader\Mods_
Enabling Mods
After uploading the mods, you’ll need to enable them for use on the server.
This is accomplished by using a enabled.json file in the /mods folder.
If the folder that contains the mods does not have an ‘enabled.json’ file in it when the server is started for the first time, tModloader will create the file and add every mod that it can load into the file.
Below are instructions on how to manually create the ‘enabled.json’ file or to edit the file if you wish to add more mods at a later time
- Navigate to the following directory on your server:
/mods - Once in the
modsfolder, click the “create file” button above the file manager window. If you simply wish to edit an existing file, select “enabled.json” and click the “edit” button in the file manager. - The information in the file needs to be in the format of a JSON array, of the names of the mods that you want to use. The file must begin and end in square brackets. Each mod should have its name in quotes, and if you have more than one line in the file, it must have a comma at the end of each line (except for the last line). When editing a .json format file, the dashboard will alert you if what you have typed does not match the proper syntax. Correct the file until the red alerts disappear.
Below is an example .json file for “enabled.json”:
[
    "CalamityMod",
    "chadsfurn",
    "Thorium"
]- These mod names should reflect the name of the
.tmodfiles that you uploaded. Linux is case sensitive, so make sure the file name matches exactly (ie, “tremor” is not the same as “Tremor” in Linux) - When you are finished editing the file, you must give it a title in the blue box directly above the file manager window (if creating a new file). In this case, you’ll want to use
enabled.json.