How do I access the Web Admin on my Killing Floor 2 server?
Quick Links
- Using AleForge’s Blacksmith’s Portal
- Self-Hosting/Other Providers
The Web Admin page is an integral part of advanced customization for your Killing Floor 2. Here’s how you can access it.
Accessing the Web Admin page on your Killing Floor 2 server
Using Blacksmith’s Portal
- Open the Blacksmith’s Portal
- Open
Startupand ensureWeb Adminis enabled - Take note of the
Admin Passwordas well as you will need this to login to theWeb Admin - Look for the
Web Admin Portvariable and take note of it - Go to
Dashboardand take note of the IP address of your server - Enter the IP Address of your server followed by the Web Admin port into your web browser like you would a website, like this
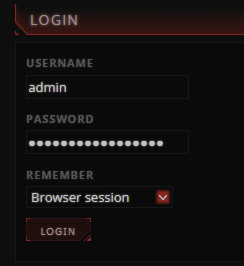
123.456.789:12345 - Login with the username
adminand your admin password
Self-Hosting/Other Providers
Killing Floor 2 requires that an additional port be opened to access the web admin page
- Locate the startup script for your KF2 server and append
?WebAdminPort=<PORT>to the end of it. - Additionally, make sure that
?AdminPassword=<ADMIN_PASSWORD>is set as this is what you will use to authenticate for the Web Admin page - Locate the IP address of your server. If you are self-hosting you can use https://www.whatismyip.com/ to find the IP address of your server. If you are with another host, you may be able to find the IP address on their server panel
- Enter your IP address followed by the Web Admin port into your web browser like you would a website, like this
123.456.789:12345 - Login with the username
adminand your admin password
Closing
Now you can use the Web Admin page to modify many of the features of your Killing Floor 2 server
Get your own super powered and affordable Killing Floor 2 server today!