How Do I Create A Custom Modpack?
To create a custom modpack for Minecraft, you’ll first have to select a mod loader for Minecraft. The two most common are Fabric, and Forge. Now you will have to download mods compatible with the mod loader of your choice. There are several sources for downloading Minecraft mods, but the most popular is CurseForge.
Once you have your mods, you will have to create a server version of the
modpack. This is a version of your modpack without any client-only mods. Once
you have put together the server version of your modpack, you can compress
them all to a zip folder called mods.zip
Generally, client-only mods are mods like OptiFine, or MouseTweaks. These are mods that don’t add any blocks or items to the game or don’t act as a backend API for another mod. If you aren’t sure if a mod is client-side or not you can check the page where you downloaded the mod and it will usually say whether the mod is client-only or not.
- Go to the AleForge Panel
- Head to the
Consolepage and stop your server - Now go to
Version. From the drop down, select which mod loader your modpack is using. If you do not seeVersion, go toGame Swapand ensure your server is set to run Minecraft Java.
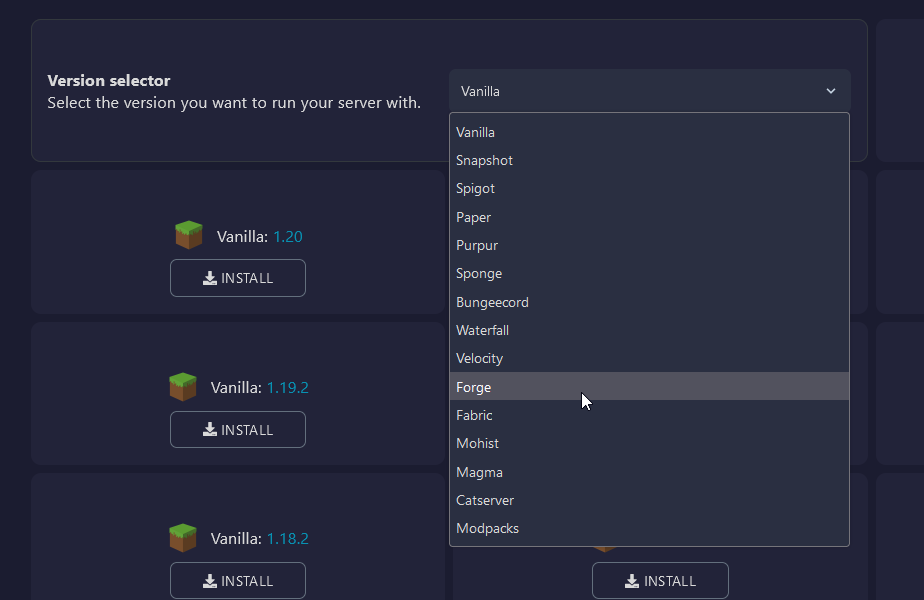
- Click
Installfor the version of Minecraft your modpack is running.
You’ve now installed the mod loader on the server! Next we’ll need to upload your mods.
- Go to
File Manager. - If you do not see a folder called
mods, you can create one with the Create Directory button - Upload the
mods.zipfile you made into this folder. - Right-click the file and select
Unarchivefrom the menu
Now all that’s left is to start your server and start playing your custom modpack!